You are standing in your driveway, gazing at the worn-out asphalt or gravel surface that has seen better days. Perhaps you have been contemplating an upgrade, envisioning a driveway that not only enhances your home’s curb appeal but also withstands the test of time.
The concept of tar and chip driveways piques your interest – a rustic, textured finish that seems durable and visually appealing. In this article, you will embark on a journey to explore the world of tar and chip driveways.
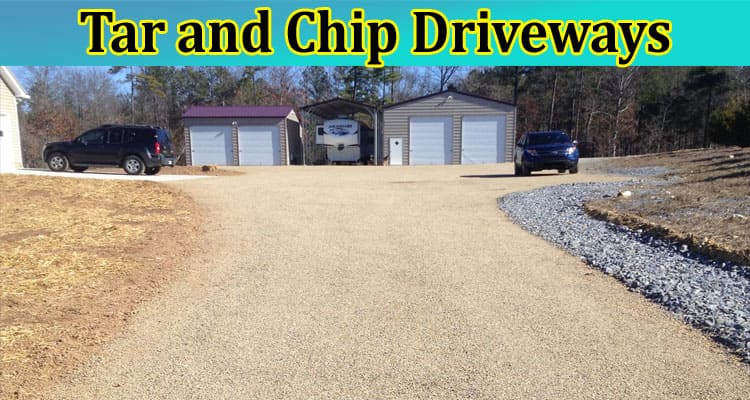
What is a Tar-and-Chip Driveway?
A tar-and-chip driveway is a type of driveway surface consisting of hot liquid asphalt (tar) and small stones or gravel (chips). This method is also known as chip sealing or gravel paving. The process involves applying a layer of hot tar to a prepared surface, such as a compacted gravel base. Immediately after the tar is applied, small stones or gravel are spread over the surface, creating a textured and durable finish.
Pros of Tar-and-Chip Driveway
Low Cost
This option is more budget-friendly than traditional asphalt or concrete driveways. In fact, the cost-effectiveness stems from the materials’ simplicity – hot liquid asphalt (tar) and small stones or gravel. This makes tar-and-chip driveways an excellent choice for homeowners seeking a durable and visually appealing driveway without breaking the bank.
Good Traction
The textured surface created by the combination of tar and small stones provides grip, reducing the likelihood of slipping, especially during wet or icy conditions. This feature is particularly valuable for regions where inclement weather is a concern. The enhanced traction contributes to a secure and reliable driveway surface that promotes safety for everyone using it.
Easy Maintenance
Maintaining a tar-and-chip driveway is relatively straightforward. Regular inspections to identify and address any loose stones or minor issues can help prolong its lifespan. If gaps or depressions appear over time, replenishing the surface with additional tar and stones is a simple and cost-effective maintenance task.
More Durable than Gravel
Compared to traditional gravel driveways, tar-and-chip driveways offer enhanced durability. The binding properties of the hot liquid asphalt help hold the stones in place, reducing issues like gravel displacement and the formation of ruts.
This durability results in a longer-lasting driveway surface that can withstand the weight of vehicles and resist the wear and tear commonly associated with gravel driveways.
Cons of Tar-and-Chip Driveway
Limited Lifespan
Over time, exposure to weather conditions, traffic, and natural wear may lead to gradual deterioration. While these driveways offer a cost-effective solution, homeowners should know that they may need resurfacing or repairs sooner than with other materials.
Contractors Hard to Find
Finding experienced contractors for tar-and-chip driveway installations can sometimes be challenging. This method requires a specific skill set; not all paving contractors may specialize in tar-and-chip applications.
In that sense, homeowners interested in this type of driveway may need to invest time in identifying contractors with the necessary expertise.
Easily Damaged by Snowplows
In regions with heavy snowfall and the use of snowplows for snow removal, tar-and-chip driveways may be more susceptible to damage. The scraping action of snowplow blades can dislodge stones from the surface, leading to potential gouging and unevenness.
Installation Guide of Tar-and-Chip Driveways
Installing a tar-and-chip driveway involves carefully executing steps to ensure a durable and visually appealing result. Here is a simplified guide to the installation process:
Clearing and Grading
The first step in installing a tar-and-chip driveway involves preparing the area. Clear the space of any debris, plants, or existing pavement. This ensures a clean slate for the new driveway.
Grading comes next, where the ground is leveled and shaped to create a smooth foundation. This step is crucial for the overall stability and appearance of the finished driveway.
Base Layer Application
Once the area is cleared and graded, the next step is to apply a base layer. This typically involves spreading crushed stone or gravel over the prepared surface. The base layer provides a stable foundation for the tar-and-chip application, ensuring durability and longevity for the driveway.
Tar Application Process
Heating liquid asphalt, commonly known as tar, is a key element in the installation process. The tar is heated to the appropriate temperature and then evenly applied to the prepared surface using a distributor truck. This hot liquid asphalt serves as the adhesive that will bond with the stones to create a solid surface.
Chip Application
Immediately after applying the tar, small stones or gravel are spread over the surface. This process is the chip application. The stones adhere to the hot tar, creating a textured and visually appealing finish.
Compaction and Curing
Compaction is a critical step to ensure a well-bonded and solid driveway surface. Using a roller or compactor, the surface is compacted to press the stones into the tar. This enhances the structural integrity of the driveway.
Following compaction, a curing period is essential. During this time, avoiding heavy traffic is crucial to allow the tar to harden and the stones to settle, ensuring a durable and resilient finished product.
Tar-and-Chip Driveway: Is It Right For You?
As you consider the installation guide for tar-and-chip driveways, pondering whether this option aligns with your needs is essential. So, weigh the pros and cons, explore the installation process, and consider consulting with experienced contractors. Your driveway is not just a functional aspect of your home but also a part of its overall curb appeal.