
Welcome, sweet treat enthusiasts and aspiring bakers! If you want to elevate your baking skills and indulge in the delightful world of donut-making, you’ve come to the right place. This blog post will guide you through the ten essential steps to create the perfect iced donut.
From choosing the right ingredients to applying that final, tempting glaze, we’re here to help you on this sugary journey. So, roll up your sleeves, preheat your ovens, and dive into the magical process of making these tasty donuts that are bound to impress!
Selecting Quality Ingredients
The secret begins with the selection of quality ingredients. Choose fresh, organic flour for a fluffy texture and high-grade yeast to ensure your donuts rise perfectly. Remember, the quality of ingredients directly influences the taste and texture of your final product.
The Perfect Dough Mix
Mixing your dough is an art in itself. Start by combining the dry ingredients, then slowly incorporate the wet ingredients. Knead the dough until it’s smooth and elastic, but be careful not to overwork it. The dough should be soft yet manageable.
The Art of Proofing
Proofing is where the magic happens. Cover the kneaded dough and let it rest in a warm place until it doubles in size. This process allows the yeast to ferment, giving your donuts that airy, soft texture. Patience is critical here; rushing can lead to dense, heavy donuts.
Mastering the Roll and Cut
Once proofed, roll out your dough on a floured surface. Aim for a thickness of about half an inch. Then, using a donut cutter or a round cookie cutter (and a smaller one for the holes), cut out your donut shapes. Remember, uniformity in size ensures even cooking.
The Frying Technique
Frying is a critical step. Heat your oil to the right temperature – not too hot or cool. Carefully place the donuts in the oil and fry until golden brown, turning them once. Achieving that perfect golden hue is a sign your donuts are cooked to perfection.
Cooling and Prepping
After frying, transfer your donuts to a wire rack to cool. This step is essential to avoid soggy donuts. As they cool, prepare your icing and any other toppings or fillings you wish to use. Creativity in flavors and colors can turn your donuts from delicious to divine.
The Icing Adventure
Now, for the star of the show: the icing. Combine icing sugar with a little milk or water to create a smooth, pourable consistency. Feel free to add food coloring or flavor extracts to jazz up your icing. Remember, the icing should be neither too runny nor too thick.
Perfecting the Glaze
Dip each cooled donut into the icing, ensuring an even coat. Gently shake off any excess and place them back on the wire rack. This is your moment to be artistic – a well-glazed donut is tasty and visually appealing.
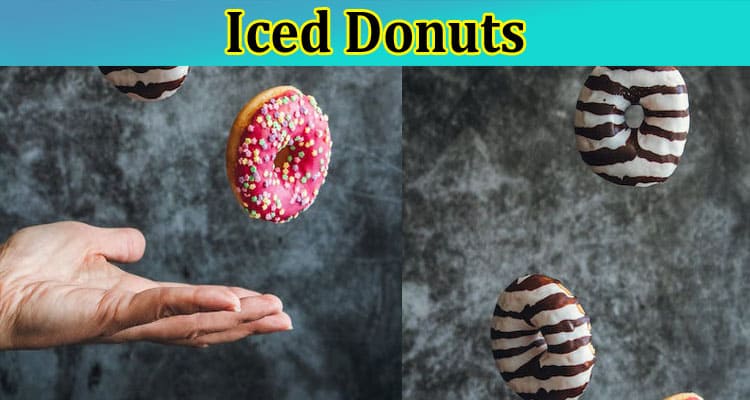
Decorative Flair
Once the basic icing is set, you can add additional decorations. Sprinkles, edible glitter, or even a drizzle of a contrasting glaze can elevate your donut into a work of art. This step is where you can let your personality shine through your baking.
The Final Touch: Presentation
Presenting your donuts is just as important as making them. Arrange them beautifully on a platter, or box them up if gifting. Remember, the first bite is with the eye, so make your donuts as attractive as they are delicious.
Conclusion
There you have it – the ten steps to making the perfect iced donut. Through this journey, you’ve learned the importance of quality ingredients, the art of dough preparation, the intricacies of frying, and the creativity of icing and decorating. Remember, practice makes perfect, and each batch you make will bring you closer to achieving sweet perfection. So, keep experimenting, baking, and, most importantly, enjoying the delicious world of donuts!


